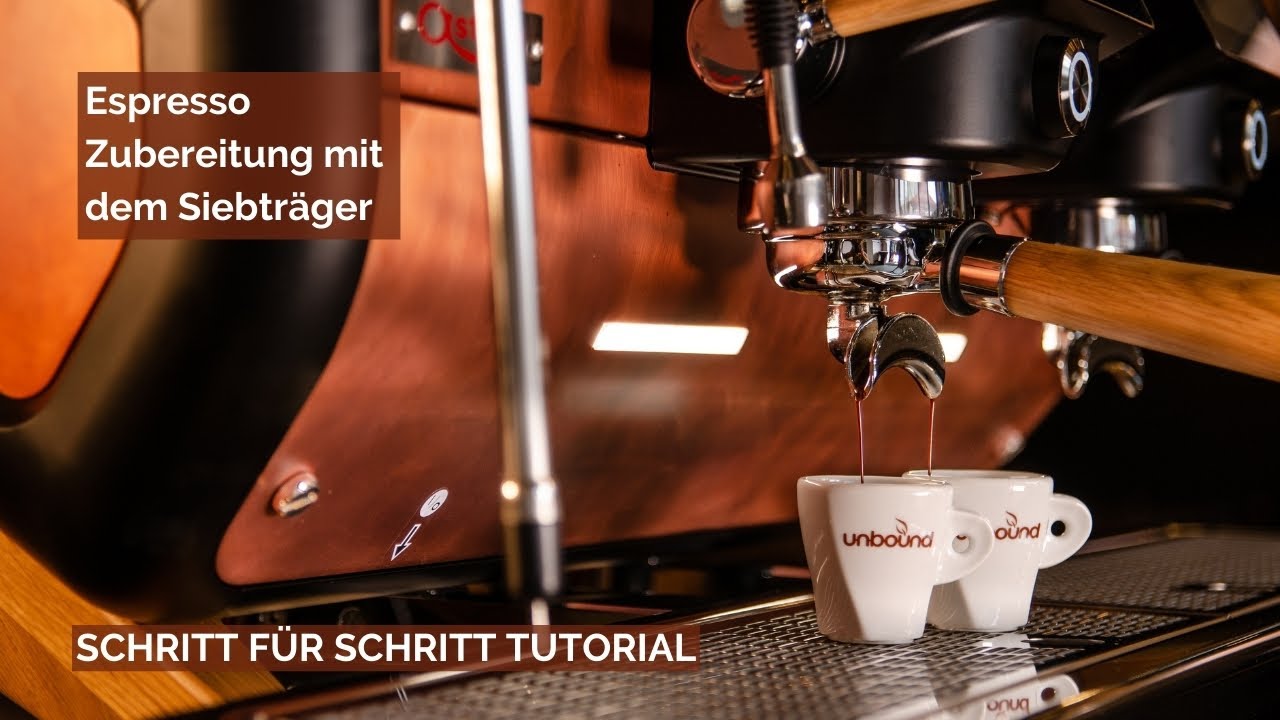
Espressozubereitung mit der Siebträger-Kaffeemaschine
Sonntag, 8:00 morgens, du kommst verschlafen aus deinem Bett gekrochen und willst nur eines: einen perfekten Espresso, der dich vergessen lässt, dass du mit dem falschen Fuß aufgestanden bist. Damit dich deine Kaffeezubereitung mit der Siebträger-Kaffeemaschine nicht noch mehr Nerven kostet, als ein guter Espresso dir geben kann, habe wir eine Schritt-für-Schritt Anleitung für den perfekten Espresso für dich. Hier geht's zur Kurzversion
Inhaltsverzeichnis
- Die Zutaten und Zubehör, die du benötigst
- Der Siebträger - das Herzstück deiner Kaffeemaschine
- Einfluss der Kaffeetasse
- Der richtige Malgrad
- Die richtige Menge
- Leveln und Tampern
- Vorreinigung der Brühgruppe
- Extraktion deines Espresso
- Laufzeit
- Espresso als Grundlage für Cappuccino und Co
- Kurzversion
Die Zutaten und Zubehör, die du benötigst
- Deinen Lieblingskaffee, den findest du sicher bei uns im Shop!
- Siebträger Kaffeemaschine
- Kaffeemühle, wir empfehlen zum Beispiel die Baratza Vario Home
- Feinwaage oder Küchenwaage
- Tamper
- Optional Leveler & Pinsel
Der Siebträger – das Herzstück deiner Kaffeemaschine
Achte darauf, dass dein Siebträger immer trocken und sauber ist, bevor du ihn mit neuem Kaffeepulver füllst. So verhinderst du Rückstände, die den Geschmack deines Espressos beeinflussen können. Du kannst ihn mit einem geeigneten Pinsel und einem sauberen Tuch vorsichtig reinigen.
Deine Tassen mögen es gerne heiß
Achte darauf, dass deine Tassen immer warm sind. Bei der geringen Menge von Espresso kühlt dein Kaffee sehr schnell aus. Stelle hierfür deine Tassen am besten direkt auf die Siebträger-Kaffeemaschine. Bei Espresso kannst du die Tassen zusätzlich noch mit heißem Wasser aus dem Auslauf füllen und kurz stehen lassen, während du deine Kaffeebohnen mahlst.
Der richtige Mahlgrad – fein, feiner, Siebträger
Bei der Anschaffung einer Siebträger-Kaffeemaschine solltest du auf keinen Fall an deiner Mühle sparen. Eine gute Mühle ist fast genauso wichtig wie deine Kaffeemaschine.
Mahle deine Kaffeebohnen auf einer feinen bis sehr feinen Einstellung. Der Mahlgrad liegt dabei zwischen türkischem Kaffee (feiner) und Kaffee für Mokkakannen. Die Kontaktzeit des Kaffeepulvers mit dem heißen Wasser ist bei der Zubereitung mit der Siebträger-Kaffeemaschine sehr kurz. In dieser kurzen Zeit sollen alle wichtigen Aromen gelöst werden. Dabei hilft dir ein feiner Mahlgrad, da dein Kaffeepulver somit eine größere Oberfläche aufweist als bei grob gemahlenem Kaffee.
Die richtige Menge: einmal vollfüllen bitte?
Als Richtwert für die Menge an Kaffeepulver im Siebträger kannst du dir grob merken:
Einzelsieb für 1 Espresso: 7-14g
Doppelsieb für 2 Espresso: 14-26g
Der tiefste und höchste Wert sind sehr extrem, wir pendeln uns meistens in der Mitte ein. Für unsere fruchtig-explosiven und nussigen Röstungen verwenden wir deutlich mehr Menge als für unsere schokoladig-italienischen Klassiker. Taste dich hier einfach an die für dich perfekte Menge heran und finde heraus, was dir am besten schmeckt.
Leveln und Tampern – Werkzeuge für die perfekte Oberfläche
Leveln bedeutet nichts anderes, als das Kaffeepulver auf eine einheitliche Ebene zu bringen. Beim Mahlen passiert es häufig, dass sich Klümpchen im Pulver bilden oder der Kaffee ungleichmäßig im Siebträger verteilt wird. Durch ein Leveln des Pulvers vor dem Tampern kannst du dem entgegenwirken. Am besten funktioniert das Leveln mit einem sogenannten Leveller. Mit diesem Tool könnt ihr euer Kaffeepulver gleichmäßig vor dem Tampern verteilen. Wenn ihr euch zu Beginn noch kein extra Gerät dafür anschaffen möchtet, könnt ihr euer Kaffeepulver auch durch leichtes Klopfen verteilen. Dafür klopft ihr in einem ersten Schritt den Siebträger vorsichtig auf einen Untergrund, z.B. eure Tamperstation, und tappt im Anschluss einige Male mit euren Fingern leicht an die Seite des Siebträgers.
Das Tampern sorgt dafür, dass sich dein Kaffeepulver gleichmäßig verfestigt und somit die optimale Fläche für die anschließende Wasser- und Druckzufuhr bietet. Du wirst oft von 15-20kg Anpressdruck beim Tampen hören - zerbrich dir hier nicht den Kopf. Für ein erstes Gefühl kannst du gerne mit einer kleinen Waage den Druck testen. Generell bedeutet diese Aussage nur, dass du nicht wie wild mit vollem Körpereinsatz, beiden Händen und am besten noch dem Knie die Restluft aus dem Kaffeepulver drücken musst wie ein Profi-Wrestler – nein, es reicht ein mittlerer Druck mit einer Hand, den du so fest ausübst, dass du am Ende einen leichten Widerstand vom Kaffeepulver spürst. Und in diesem Fall gilt nicht: „aller guten Dinge sind 3“ – 1x tampern reicht vollkommen.
Vorreinigung der Brühgruppe – fancy auch „flushen“ genannt
Im Zuge des Aufbrühens entstehen Kaffeerückstände im Brühkopf deiner Siebträger-Kaffeemaschine. Um diese zu entfernen, drücke einfach einmal den Spülknopf, bevor du deinen Siebträger einsetzt. Dies nennt sich auch Leerbezug. Lass das heiße Wasser 2-3 Sekunden rinnen. Deine Kaffeerückstände sind entfernt und deinem perfekten Espressogenuss steht nichts mehr im Weg.
Extraktion deines Espresso - Jetzt geht’s loooooos!
Jetzt kannst du endlich deinen Siebträger einspannen. Drücke sofort nach dem Einspannen den gewünschten Extraktionsknopf – einfacher oder doppelter Espresso - deiner Maschine. Erst danach stellt du die Tassen unter den Siebträgerauslauf.
Warum ist dieser Schritt so wichtig?
Sobald der Siebträger eingespannt ist, gerät das Kaffeepulver in Kontakt mit der heißen, feuchten Unterseite der Brühgruppe. Dein Kaffee nimmt dabei schon Wasser auf und würde bei zu langem Warten überextrahiert werden. Das Kaffeepulver saugt sich aber ohnehin in den ersten paar Sekunden nach Drücken des Knopfes mit heißem Wasser an, bis der Puck vollständig durchfeuchtet ist. Dies wird auch Präinfusion genannt. Bevor dein Espresso also aus der Öffnung läuft, hast du genug Zeit, deine Tassen unter den Auslauf zu stellen. Zugegeben, bei den ersten paar Versuchen bleibt ein gewisser Nervenkitzel dabei - aber dafür bist du danach auch wirklich wach.
Es läuft … dein perfekter Espresso zum Genießen
Dein Espresso sollte in einem konstant-dünnen Strahl über ca. 25-30 Sekunden auslaufen. Für einen einzelnen Espresso kannst du mit ca. 25ml Flüssigkeit rechnen. Dieser Richtwert orientiert sich zum einen an deinem persönlichen Geschmack, zum anderen an den von dir verwendete Bohnen. Dunkel geröstete Bohnen kannst du eher im unteren Bereich der Zeitspanne ansiedeln, da dein Kaffee sonst sehr bitter schmecken kann und seine fein-schokoladige Note verliert. Mit fruchtigen, hell gerösteten Bohnen hingegen kannst du gerne ein bisschen experimentieren. Eine kürzere Laufzeit bedeutet mehr Frische und Säure, je länger dein Espresso läuft, desto samtig-süßer wird er. In diesem Sinne: einfach ausprobieren und genießen.
Die Basis – der Espresso als Grundlage für Cappuccino und Co.
Mit einem Espresso kannst du in einem weiteren Schritt ganz einfach perfekten Cappuccino zaubern. Verwende dazu statt deiner Espressotasse eine Cappuccinotasse. Im Anschluss schäumst du mit der Dampflanze deines Siebträgers oder deinem Milchschäumer rund 130ml Milch zu einem feinporig-cremigen Milchschaum auf. Dabei ist wichtig, dass deine Milch nicht zu heiß wird, da dein Cappuccino sonst bitter schmeckt. Hier gilt eine grobe Angabe von ca. 65°. Am besten, du behältst beim Schäumen einfach immer eine Hand auf der Milchkanne – wenn du die Kanne gerade noch so berühren kannst, ist deine Milch fertig. Im Anschluss gießt du die geschäumte Milch auf deinen fertigen Espresso. Dabei beginnst du mit etwas mehr Abstand zur Tasse, damit sich deine Milch gut mit dem Espresso verbindet. Gegen Ende des Einschenkens gehst du mit dem Auslauf deiner Kanne näher zum Tassenrand und kannst so schöne Latte-Art-Muster zaubern.
Und jetzt heißt es nur noch: Cappuccino genießen und zurücklehnen.
Hier nochmal die Kurzversion
- Tassen mit heißem Wasser vorwärmen
- Siebträger von Kaffeeresten befreien und gegebenenfalls mit einem Tuch trocknen
- Espressobohnen bei feinem bis sehr feinem Mahlgrad mahlen
- Siebträger mit Kaffeepulver füllen FAUSTREGEL: ~ 16-22 Gramm Kaffeepulver für einen doppelten Auslauf (2 Espresso=Doppio)
- Kaffeepulver leveln und im Anschluss tampern
- Brühgruppe 2-3 Sekunden mit heißem Wasser vorreinigen, auch „flushen“ genannt
- Siebträger einspannen, sofort gewünschte Taste drücken & erst dann Tassen unter Auslauf stellen
- Espresso zwischen 25-30 Sekunden extrahieren & genießen
Du schaust dir die Anleitung lieber als Video an? Bitteschön: